
Last updated November 15, 2026
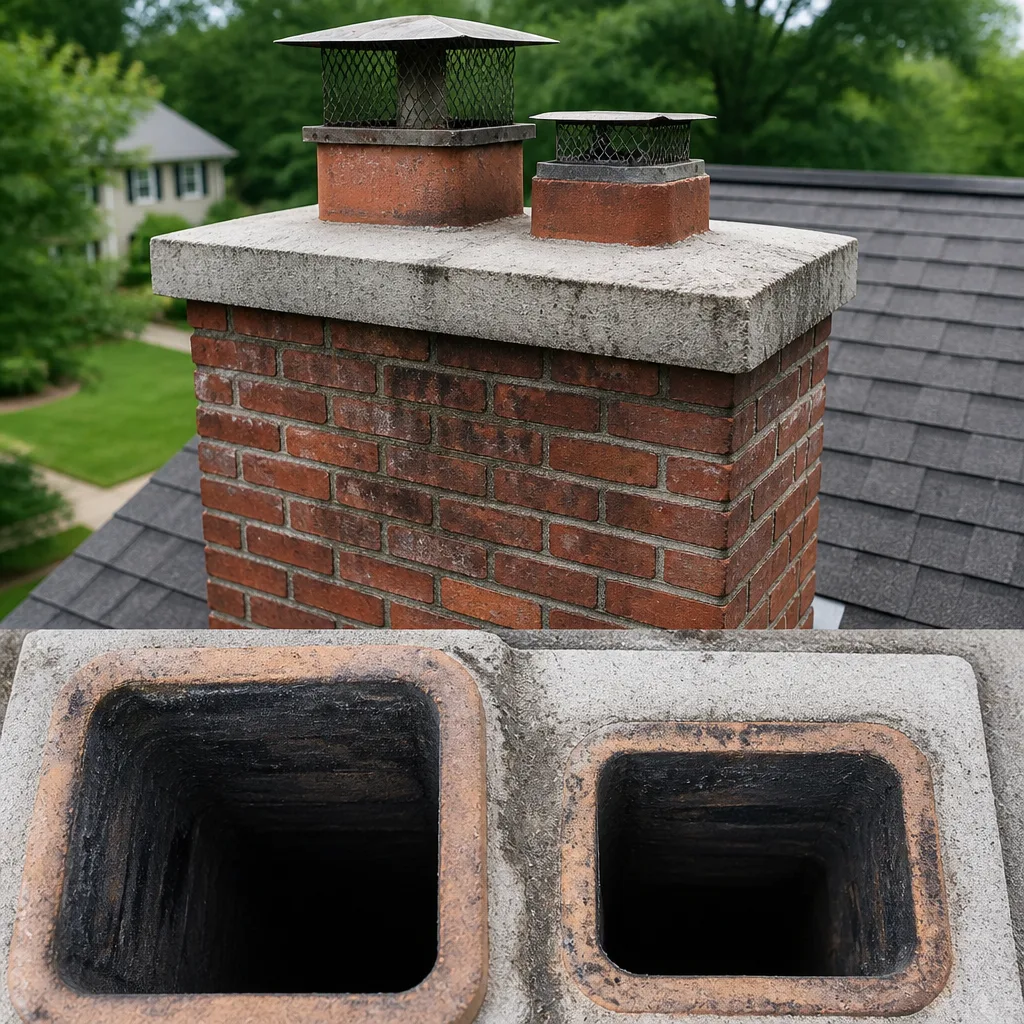 Sweep & inspection
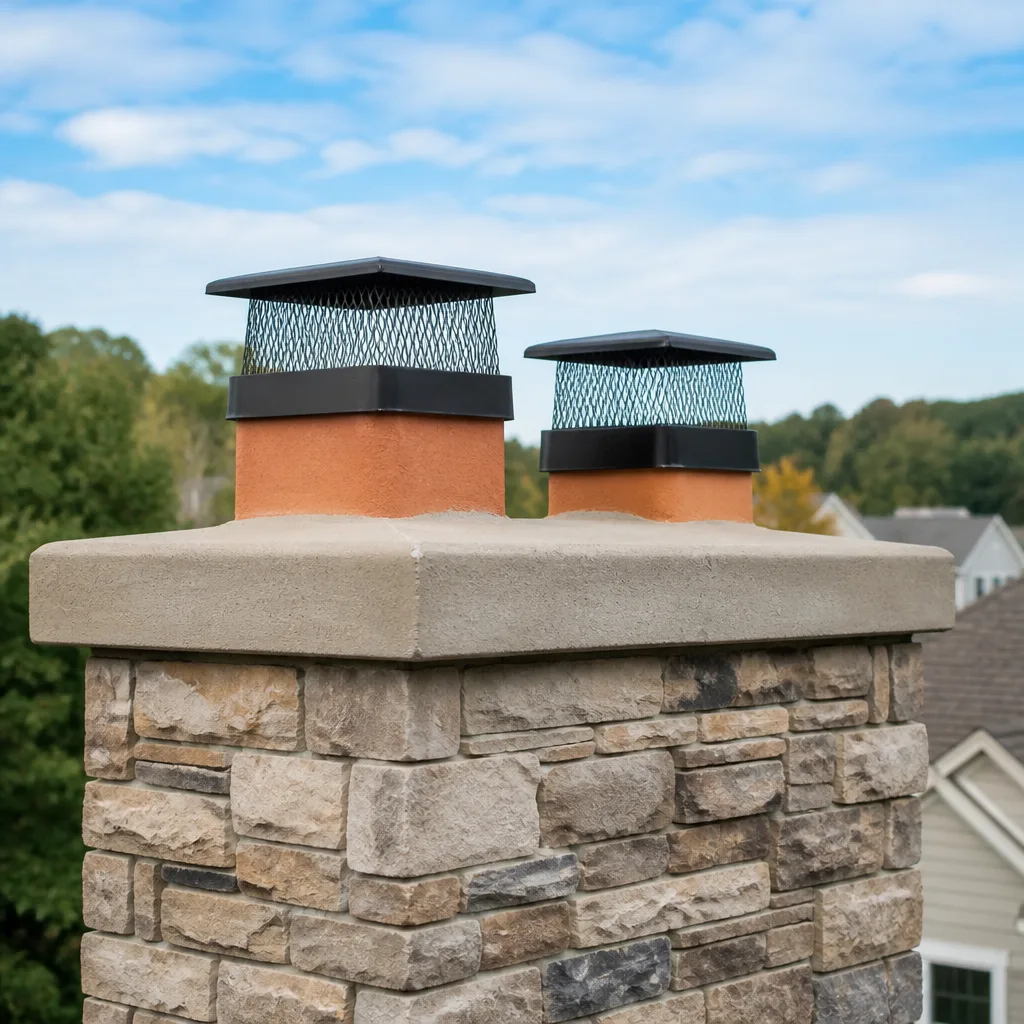 Caps & crowns
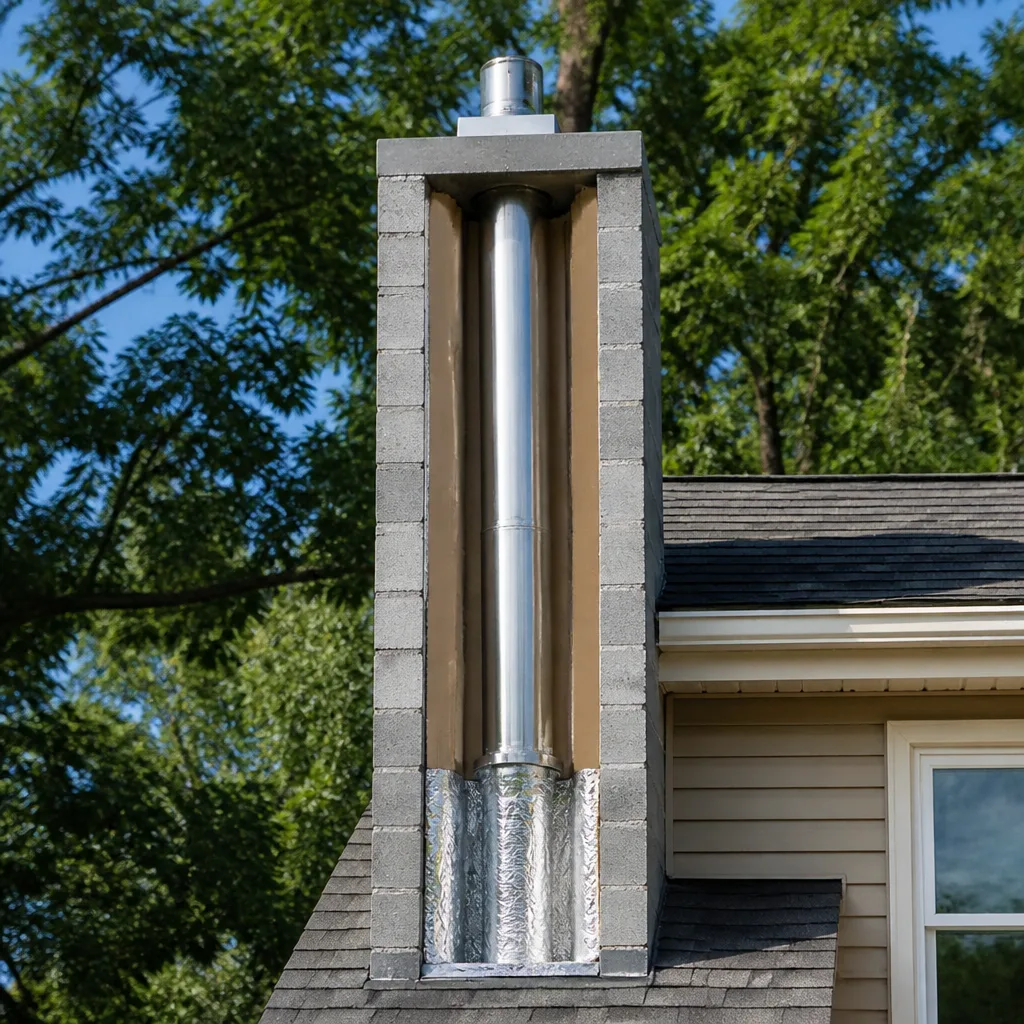 Flue relining
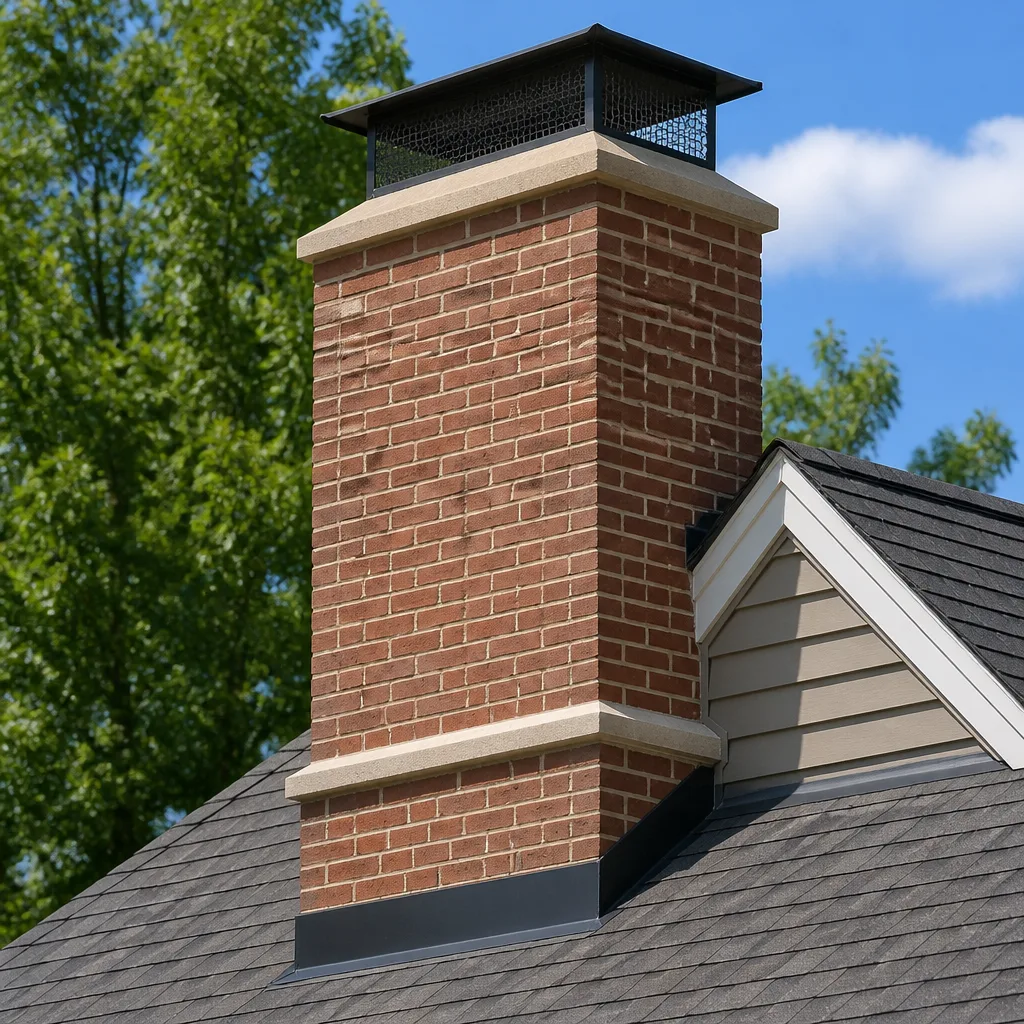 Masonry repair
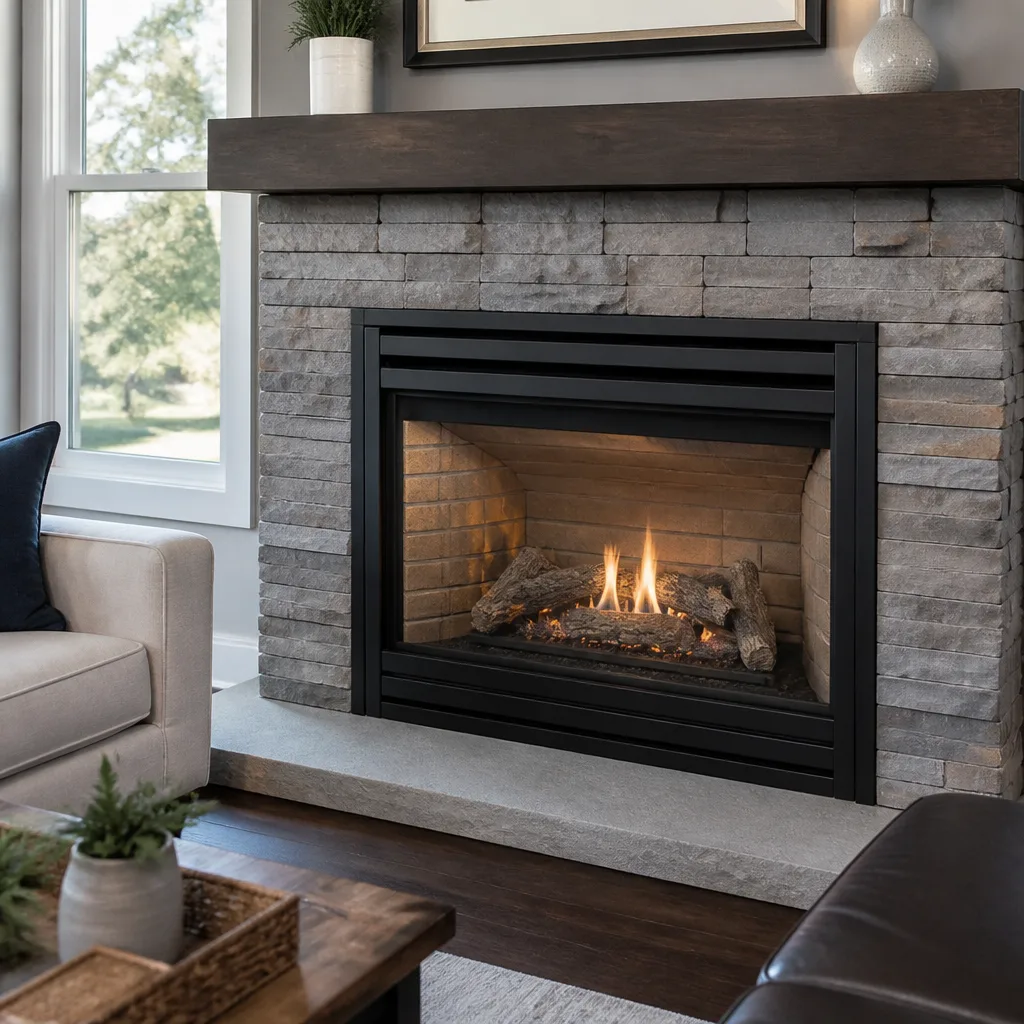 Gas fireplace service
Level 1 sweep and inspection to the NFPA 211 annual standard - flue, crown, cap, and flashing checked and photographed
Chimney sweep logs do not sweep chimneys. They loosen some creosote - which then falls where a brush and vacuum still have to collect it.
Chimney Sweep Maintenance Checklist for Fairfield Homeowners
Most chimney advice you’ll read is organized by season: sweep in fall, check in spring, forget it the rest of the year. That’s the wrong way to think about it. A chimney fails at the component level, not the calendar level, and the part that’s quietly degrading right now usually has nothing to do with how recently you swept. A homeowner who can identify a spalled crown or a rust-stained smoke chamber wall catches a small repair before it turns into a full liner replacement. This guide walks you through your chimney part by part, tells you what’s normal versus what to flag, and gives you the documentation habits that protect you at warranty, insurance, and resale time. It’s written for Fairfield homes and the specific weather that shapes them.
Quick Answer
A chimney maintenance checklist should cover six components: the crown, the flashing, the flue liner, the damper, the firebox, and the smoke chamber. Walk each one visually once a season, photograph what you see, and record the date. Between professional sweeps in Fairfield, this inspection tells you whether a finding is cosmetic or whether it needs a technician before the next burn. If any of the five stop-use conditions in this guide apply, stop using the fireplace and call (833) 946-3479.
Styles & brands we work with
- Sweep & inspection
- Caps & crowns
- Flue relining
- Masonry repair
- Gas fireplace service
Table of Contents
- Why a Component Checklist Beats a Seasonal Reminder
- The Crown: What Normal and Flag Look Like
- Flashing and the Delta Wind-Driven Rain Problem
- The Flue Liner: Efflorescence, Rust, and the Resurfacing Option
- Testing Your Damper Seal at Home
- The Firebox and Smoke Chamber
- Documentation: What to Photograph and Record Each Year
- The Five Stop-Use Conditions
Why a Component Checklist Beats a Seasonal Reminder
A seasonal reminder assumes your chimney ages on a schedule. It doesn’t. The crown can fail in three years while the liner holds for thirty, or the liner can crack in one hard winter while the crown stays sound. Treating the chimney as a single object with a single “get it swept” task means the weak component goes unnoticed until it forces a bigger repair.
Component-by-component inspection is how technicians actually work a chimney. We look at the top first (crown, flashing, cap), then work down through the flue, damper, smoke chamber, and firebox, noting each part’s condition separately. You can do a simplified version of the same walk from ground level and from inside the firebox, and what you record will tell you when to schedule professional service and when to relax.
Fairfield’s climate makes this especially worth the effort. Winters here are mild, which means chimneys rarely get the hard freeze stress that crumbles masonry in colder regions. Instead, the enemy is moisture that never quite dries: winter fog that keeps mortar damp, and wind-driven rain that pushes water sideways into joints and seams over the wet months. Both accelerate the slow erosion of mortar and the white mineral bloom called efflorescence. Neither shows up on a sweep schedule, but both show up in a visual inspection if you know what to look for.
If you’d like a proper baseline before you start self-inspecting, our chimney sweep includes a camera inspection and a photo report so you have a documented “before” to compare against. Our technicians have up to 12 years of experience reading exactly these signs.
The Crown: What Normal and Flag Look Like
The crown is the concrete or masonry cap at the very top of the chimney that sheds water away from the flue. It’s the most overlooked component and the one with the highest return on early detection. A small crown crack is a routine repair; a crown that has pulled away from the flue lets water run straight down the chimney’s interior.
What “normal” looks like:
- Surface intact, with a slight slope away from the flue.
- Hairline surface cracks that don’t reach the flue or the outer edge are common and often cosmetic.
- The seal where the crown meets the flue is closed and continuous.
What to flag for a technician:
- Spalling: the crown’s surface flaking, scaling, or crumbling. This is moisture getting inside and pushing the material apart from within.
- A visible gap or separation where the crown meets the flue.
- Cracks wide enough to hold a coin, or any crack that runs from the flue out to the edge.
- Water staining or mineral deposits on the crown top, which means it isn’t shedding water the way it should.
Check the crown with binoculars from the ground. Don’t climb a roof to inspect it; a fall is a far worse outcome than a cracked crown. If it looks compromised, that’s a job for someone with the training and equipment to get up there safely and repair it correctly. A crown repaired with the right materials now costs a fraction of the interior water damage it prevents.
Flashing and the Delta Wind-Driven Rain Problem
Flashing is the metal seal where the chimney passes through the roof. It’s the #1 source of chimney leaks, and it’s easy to misdiagnose because water entering at the flashing often shows up as a ceiling stain several feet away. Homeowners blame the roof. The chimney is the culprit.
What “normal” looks like:
- Metal sits flush and tight against the roof surface and the chimney’s sides.
- No gaps, no lifted edges, no rust pushing the metal apart.
- Caulk lines intact where flashing meets masonry.
What to flag for a technician:
- Lifted, curled, or separated flashing edges.
- Rust that has eaten through the metal or forced a gap.
- Cracked or missing caulk along the seam with the chimney.
- Water stains on the chimney’s exterior masonry, especially on the side facing the prevailing wind.
Fairfield sits in a wind corridor, and the Delta winds push rain sideways rather than straight down. That’s why flashing here takes harder hits than its age suggests, and why rain finds its way under a seal that looks perfectly fine from a straight-on view. Look at the flashing from several angles and pay attention to the windward side. If you see lifted metal or a rust gap, don’t seal it with a tube of caulk from the hardware store; a proper flashing repair resets the metal and seals it correctly, and it’s the kind of work that needs a technician on the roof.
While you’re up there in your mind, check the cap too. A missing or damaged rain cap lets water and animals straight into the flue. Our Fairfield Chimney Cleaning team installs caps and flashing components from brands like Olympia Chimney and Copperfield, the kinds architects specify, not the thin hardware-store versions.
The Flue Liner: Efflorescence, Rust, and the Resurfacing Option
The flue liner is the inner wall that carries smoke and gases up and out. It’s the safety-critical component, and it’s also the one most often replaced when a less expensive repair would have fixed it. This is where a real inspection, rather than a guess, changes the bill.
What “normal” looks like on a visual check (from the firebox with a light, or via camera inspection):
- Smooth, continuous liner walls with no gaps in the joints of a clay-tile flue.
- Consistent color, with no dark staining or white bloom.
- No visible offset or missing tile section.
What to flag for a technician:
- Efflorescence: those white, powdery mineral stains on the masonry or liner. They mean moisture is moving through the material and leaving salts behind. In Fairfield’s foggy winters, it’s one of the most common early indicators of a liner problem.
- Rust staining in a metal flue or on a smoke chamber wall, which points to moisture condensing where it shouldn’t.
- Cracked, spalled, or missing sections of clay tile, or visible gaps in the joints.
- Any breach where heat or gas could escape the liner into surrounding structure.
A damaged liner matters for two reasons: it can let heat reach combustible parts of the house, and it can let carbon monoxide leak into living space instead of going up the flue. That’s why a liner defect, once found, is not something to “watch for a while.”
What most homeowners don’t know is that a compromised but structurally sound flue can often be restored rather than replaced. HeatShield resurfacing rebuilds the interior of the flue from the inside, restoring a smooth, sealed flue wall without the cost of full relining. We’re set up to do that work, which is a repair option many sweep-only companies can’t offer. When a full liner is genuinely needed, we install DuraFlex liner systems, and the technician will show you the camera evidence before recommending either path. You see what we see, and the written estimate is yours before any work begins.
Testing Your Damper Seal at Home
The damper is the door between your firebox and the flue. When it’s open, smoke rises. When it’s closed, it’s supposed to seal off the flue and stop heated room air from escaping up the chimney and cold air from coming down. A damper that no longer seals properly quietly raises your heating bill all winter and lets drafty air into the room.
You can test the seal yourself without any tools beyond a dollar bill and a little patience. Here’s how:
- Cool check, then close the damper. Make sure there’s no fire or ember in the firebox, then close the damper fully.
- Dollar-bill test. Open the firebox door, insert a dollar bill between the damper plate and its frame at several points around the edge, and pull gently. A sealed damper grips the bill firmly and resists the pull at every point. If the bill slides out freely at any spot, the damper is not sealing there.
- Incense test for the whole system. With the damper closed and the firebox door shut, light an incense stick near the damper area (with the room ventilated). Watch the smoke. If it drifts steadily toward the firebox and up near the damper, air is leaking down or through. A well-sealed closed damper should show very little pull.
What to flag for a technician: a damper that won’t close flush, a plate that’s warped or rusted, a handle that moves without moving the plate, or a bill test that fails at more than one point. A warped damper is a straightforward repair, and it pays for itself in heating efficiency long before next winter.
Testing before the heating season is the point. Finding a failed damper in October means you fix it before you need it. Finding it in January means a cold, drafty house while you wait.
The Firebox and Smoke Chamber
The firebox is where the fire burns; the smoke chamber is the tapered space above it that funnels smoke into the flue. Both take direct heat and both are prone to the same failures, and both are visible enough that a careful homeowner can catch trouble early.
What “normal” looks like:
- Firebox brick faces intact, joints tight, no loose bricks you can wiggle.
- No deep cracks in the firebox walls or floor.
- Smoke chamber walls smooth, with no heavy dark staining, rust streaks, or crumbling mortar.
What to flag for a technician:
- Cracks you can fit a coin into, or any crack through the firebox brick into the structure behind it.
- Crumbling mortar joints or loose, spalling brick.
- Rust-stained smoke chamber walls, a sign of moisture and possibly a failing liner above.
- Heavy creosote, which looks like a hard, glossy, tar-like coating, or soot that’s thick and flaky.
That creosote point is not cosmetic. Creosote builds up as a byproduct of burning wood and is the fuel for most chimney fires, and the harder glazed forms are the most stubborn to remove. A firebox with heavy buildup needs a professional sweep, not a wire brush from the basement and a ladder. Don’t try to clean the flue yourself; the liner is fragile and the job is genuinely hazardous.
We work through the full scope here, sweep, repair, and component work, so the same crew that finds a problem can fix it. That’s a real advantage, because the common failure in this trade is a cleaning company that identifies damage and leaves you to find someone else to fix it. We tell you what we find and what it costs to fix it, and we tell you plainly when a repair can safely wait until next season.
Our dryer vent work follows the same logic. Your dryer vent is a fire hazard for the same reason your chimney is, lint acting like creosote, so we treat both as fire-safety systems under one visit. If it’s been a while, dryer vent cleaning is worth pairing with your chimney visit.
Documentation: What to Photograph and Record Each Year
Most homeowners never think about chimney records until they need them, at resale, at an insurance claim, or at a warranty dispute. Then it’s too late to reconstruct. A small documentation habit, done once a year, protects you in three places: warranty, insurance, and resale.
Here’s what to capture each year:
- Exterior photos of the chimney top. Crown, cap, and flashing, shot from the ground with a zoom. Date-stamp them.
- Interior photos of the firebox and damper. Straight-on and close up of any crack, stain, or efflorescence.
- The smoke chamber (as far as you can see with a light and a mirror), particularly any rust or dark staining.
- Any professional report or photo report from a sweep or inspection, kept with the date and the technician’s findings.
- A one-line log per year: date, what you observed, what changed from last year, and what you did about it.
Why it matters: when you eventually sell, a documented history of maintenance is a selling point and answers the buyer’s inspector’s questions. When you file an insurance claim after a chimney fire or water event, a record showing the condition was monitored and repairs were made helps your case. When a product warranty comes into play, the manufacturer wants to see that the component was installed and maintained properly. Photos and a dated log do that.
Keep the file with your home records, physical or digital. It takes ten minutes a year. In our experience, the homeowners with the fewest surprises are the ones with the file.
The Five Stop-Use Conditions
Most checklist findings can wait for a scheduled visit. These five cannot. If any of these apply, stop using the fireplace and call a professional before you burn again.
- A crack in the firebox or liner that reaches the structure behind it. Heat and gases can escape into the framing, which is a fire hazard, and the liner can no longer contain what it’s meant to contain.
- Heavy or glazed creosote in the flue. A chimney fire waiting to happen. Don’t burn until it’s swept out.
- A blocked or obstructed flue. Nests, debris, a sagging liner section, anything blocking the path of smoke means carbon monoxide can back up into the house.
- Water coming in through the flashing or crown into the interior. Active moisture intrusion can lead to structural damage fast, and it never fixes itself.
- A failed damper seal combined with a damaged liner. A drafty damper alone is a nuisance; combined with a breach, it’s a real carbon monoxide risk.
None of these are “monitor and see.” They’re reasons to pick up the phone. If you’re unsure whether a finding crosses the line, call and describe what you’re seeing; a technician can tell you over the phone whether it’s urgent. When a trained professional needs to look, that’s standard practice, not a scare tactic.
Common Mistakes to Avoid
- Skipping the crown entirely. It’s a five-second look from the ground, and it’s the failure most likely to lead to interior water damage. Homeowners spend all their attention on the flue and never check the top.
- Blaming the roof for a chimney leak. Flashing is the usual culprit, and the stain shows up far from the source. Get the flashing checked before you call a roofer.
- Sealing flashing with hardware-store caulk. A tube of caulk over a lifted or rusted seam traps water and makes the eventual repair bigger. Flashing needs correct metal and correct sealing.
- Buying a cheap universal cap and calling it done. The right cap fits the flue, sheds water, and keeps animals out. The thin, ill-fitting versions come loose. We install Olympia Chimney and Copperfield components precisely because they hold up.
- Guessing that a cracked liner means full replacement. A structurally sound-but-damaged flue can often be restored with HeatShield resurfacing. Get a real diagnosis before you sign off on a reline.
- Not photographing anything. Without a dated record, you can’t show a warranty company or insurer what was done and when. Ten minutes a year protects thousands in claim value.
- Forgetting the dryer vent. Lint in a dryer duct is as much a fire fuel as creosote in a flue, and it’s the same visit. Book dryer vent cleaning alongside your chimney work.
See the difference
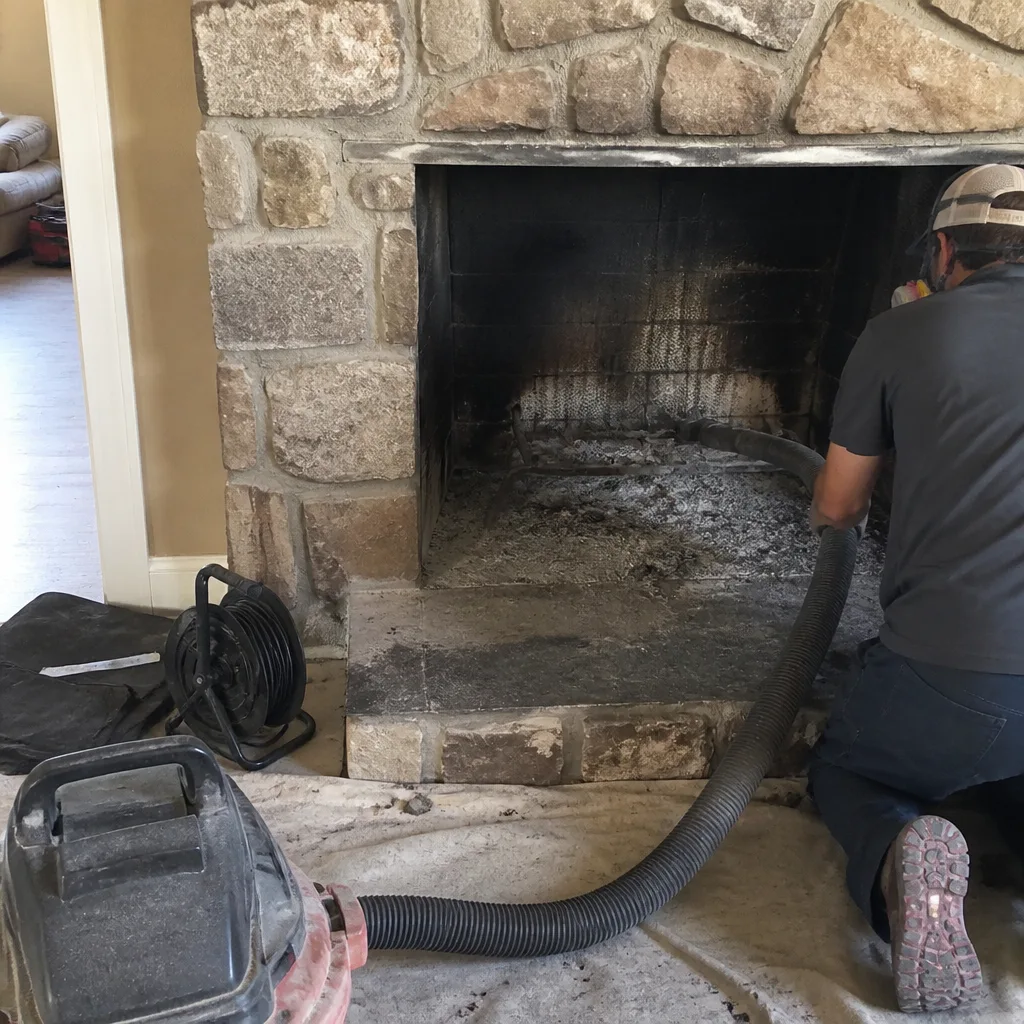 Before
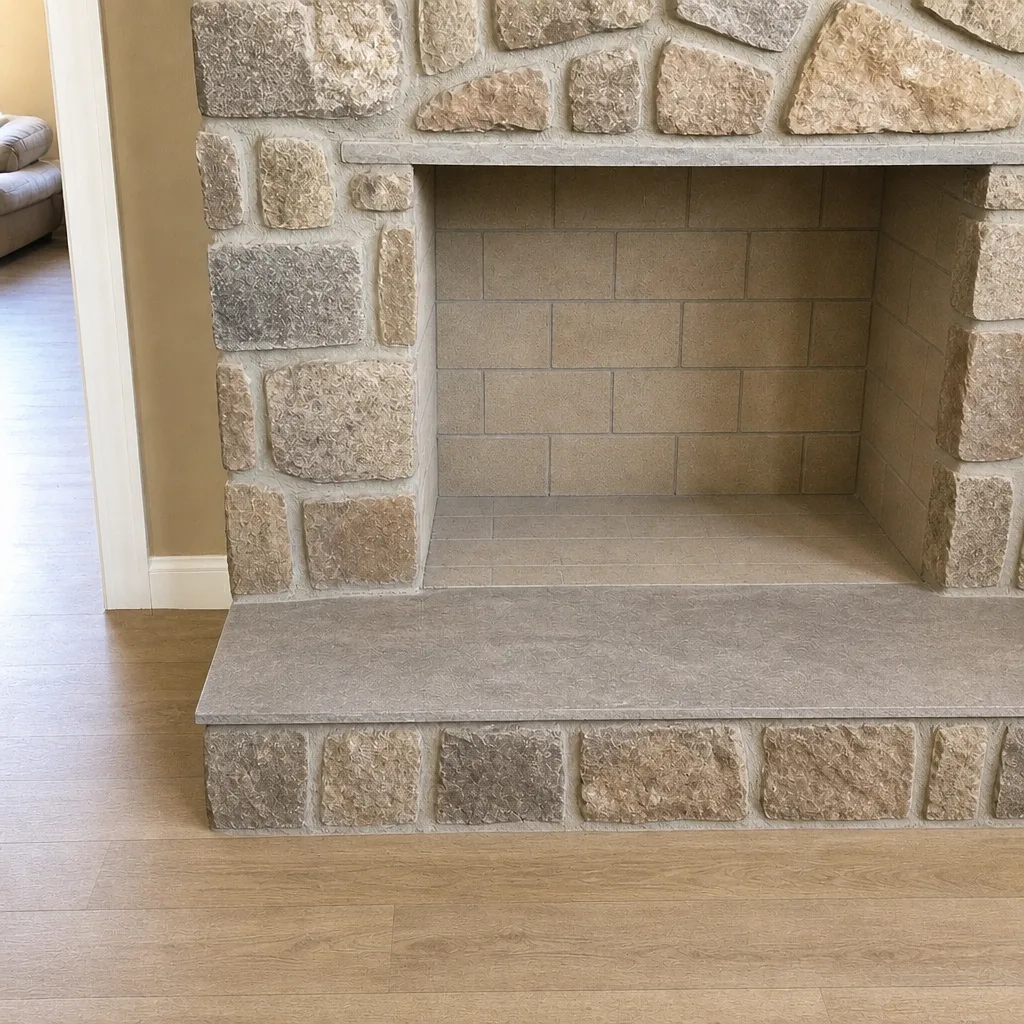 After
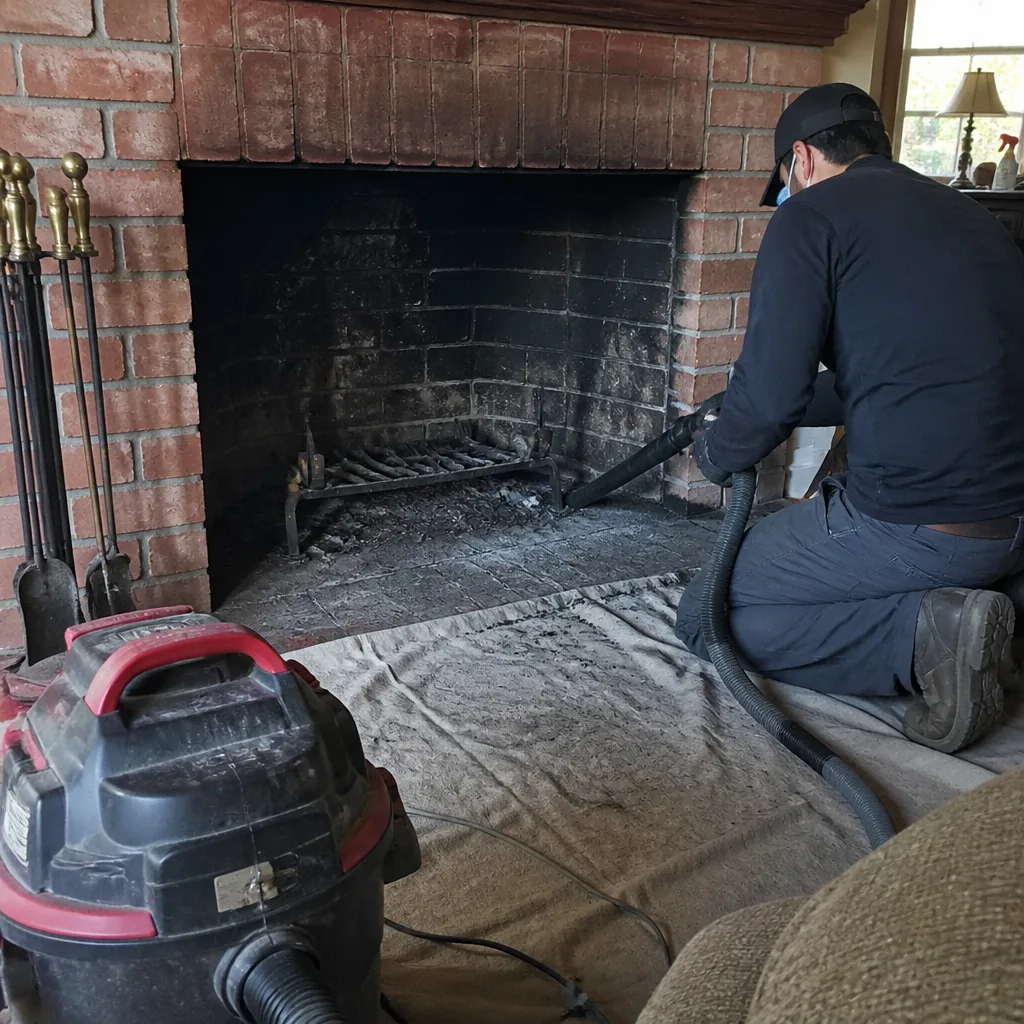 Before
 After
 Before
 After
When to Call a Professional
Call a professional when any of the five stop-use conditions above applies, when you see efflorescence, spalling, or rust you can’t explain, when the damper bill test fails, or when it’s simply been a while since a real inspection. You don’t need to wait for an annual anniversary; if something looks off, get a trained eye on it. We give free estimates in Fairfield, and nothing is recommended without camera evidence you can see for yourself. Our technicians have up to 12 years of experience and work with the same professional brands that certified chimney engineers specify, including DuraFlex, HeatShield, Famco, and Copperfield. Call (833) 946-3479. We answer 24/7. Fast dispatch from 7am to 7pm, Sunday through Friday. If a call comes outside dispatch hours, it’s booked into the next opening. You can also read more about our Fairfield service.
Frequently Asked Questions
Most wood-burning chimneys should be swept once a year, and more often if you burn frequently or notice heavy buildup. A gas appliance with a masonry or metal flue should still be inspected every year even though it produces less creosote. The sweep interval isn’t a rule that fits every home; it depends on what you burn and how much. A camera inspection tells you exactly where you stand rather than guessing. Call (833) 946-3479 for a free estimate.
Efflorescence is those white, powdery mineral stains, and it means moisture is moving through the masonry and leaving salts behind. In Fairfield’s foggy winters, it’s one of the most reliable early warning signs of a liner or water-sealing problem. It’s not cosmetic; treat it as a reason to get an inspection. Call (833) 946-3479 and we’ll take a look.
Often it can be repaired. A structurally sound flue with a damaged interior can frequently be restored with HeatShield resurfacing, which rebuilds the flue wall without full relining. Full replacement is the right call when the liner is structurally failed. We don’t recommend either path without camera evidence you can see. Call (833) 946-3479 for an honest diagnosis.
Use the dollar-bill test. With the damper closed and no fire burning, slip a dollar bill between the damper plate and its frame at several points and pull gently; a good seal grips the bill at every point and resists the pull. If it slides free at any spot, the seal has failed. A warped or damaged damper is a simple repair. Call (833) 946-3479 if your test fails.
Small problems get more expensive and safety risks go unaddressed. A crown crack lets water into the interior and eventually damages the structure; creosote builds into a chimney-fire fuel; a failing liner can let carbon monoxide leak into the house. None of it announces itself. The checklist in this guide is how you catch it early. Call (833) 946-3479 before the next burn.
Cleaning your own flue is a bad idea for most homeowners. The liner is fragile and easy to damage, and the work involves height, soot, and real hazards. What you should do yourself is the visual inspection in this guide and the documentation that goes with it. Leave the cleaning to a professional. Call (833) 946-3479 to book a sweep.
The Bottom Line
A chimney doesn’t fail on a schedule, and a sweep reminder won’t catch the crown, the flashing, or the damper. Walk your chimney component by component once a season, photograph each part, and keep a dated log. Watch for the Fairfield moisture signs, efflorescence and rust, and take the dollar-bill damper test before the heating season. Treat the five stop-use conditions as hard lines. Do the inspection yourself, but leave the cleaning and repair to a technician who can both diagnose and fix, with camera evidence you can see. Free estimates, no work without a written price. Call (833) 946-3479 to get started.
Written by the team at Fairfield Chimney Cleaning.